Why use Smart Queue?
Automation saves time, but not everything should go out without a human eye on it. An AI-drafted follow-up email or a generated business case might be 90% perfect — Smart Queue gives you the space to get it to 100%. Use it to:- Add your personal touch to AI-generated messages before they’re sent
- Approve content before it reaches a prospect
- Catch anything that doesn’t look quite right
- Avoid awkward or rushed automated messages going out unchecked
How it works
When you turn on Smart Queue for a workflow action, here’s what happens:- A trigger fires — for example, a deal stage changes or a form is submitted
- The workflow runs and reaches an action like Send Email or Add to Room
- That action has “Add to queue for review” turned on
- Flowla generates the draft content
- Instead of sending it immediately, the draft goes to your Smart Queue
- You open the queue, review it, make any edits, then approve or dismiss it
When should I use it?
Smart Queue is ideal whenever the output matters and a quick read-through adds value. Use it when:- You want to personalise a follow-up email after a demo with details from the conversation
- You’d like to review a business case before adding it to the room
- You want to check a Slack handoff note before it goes to your CS team
- You’re sending something high-stakes and want a final look before it goes live
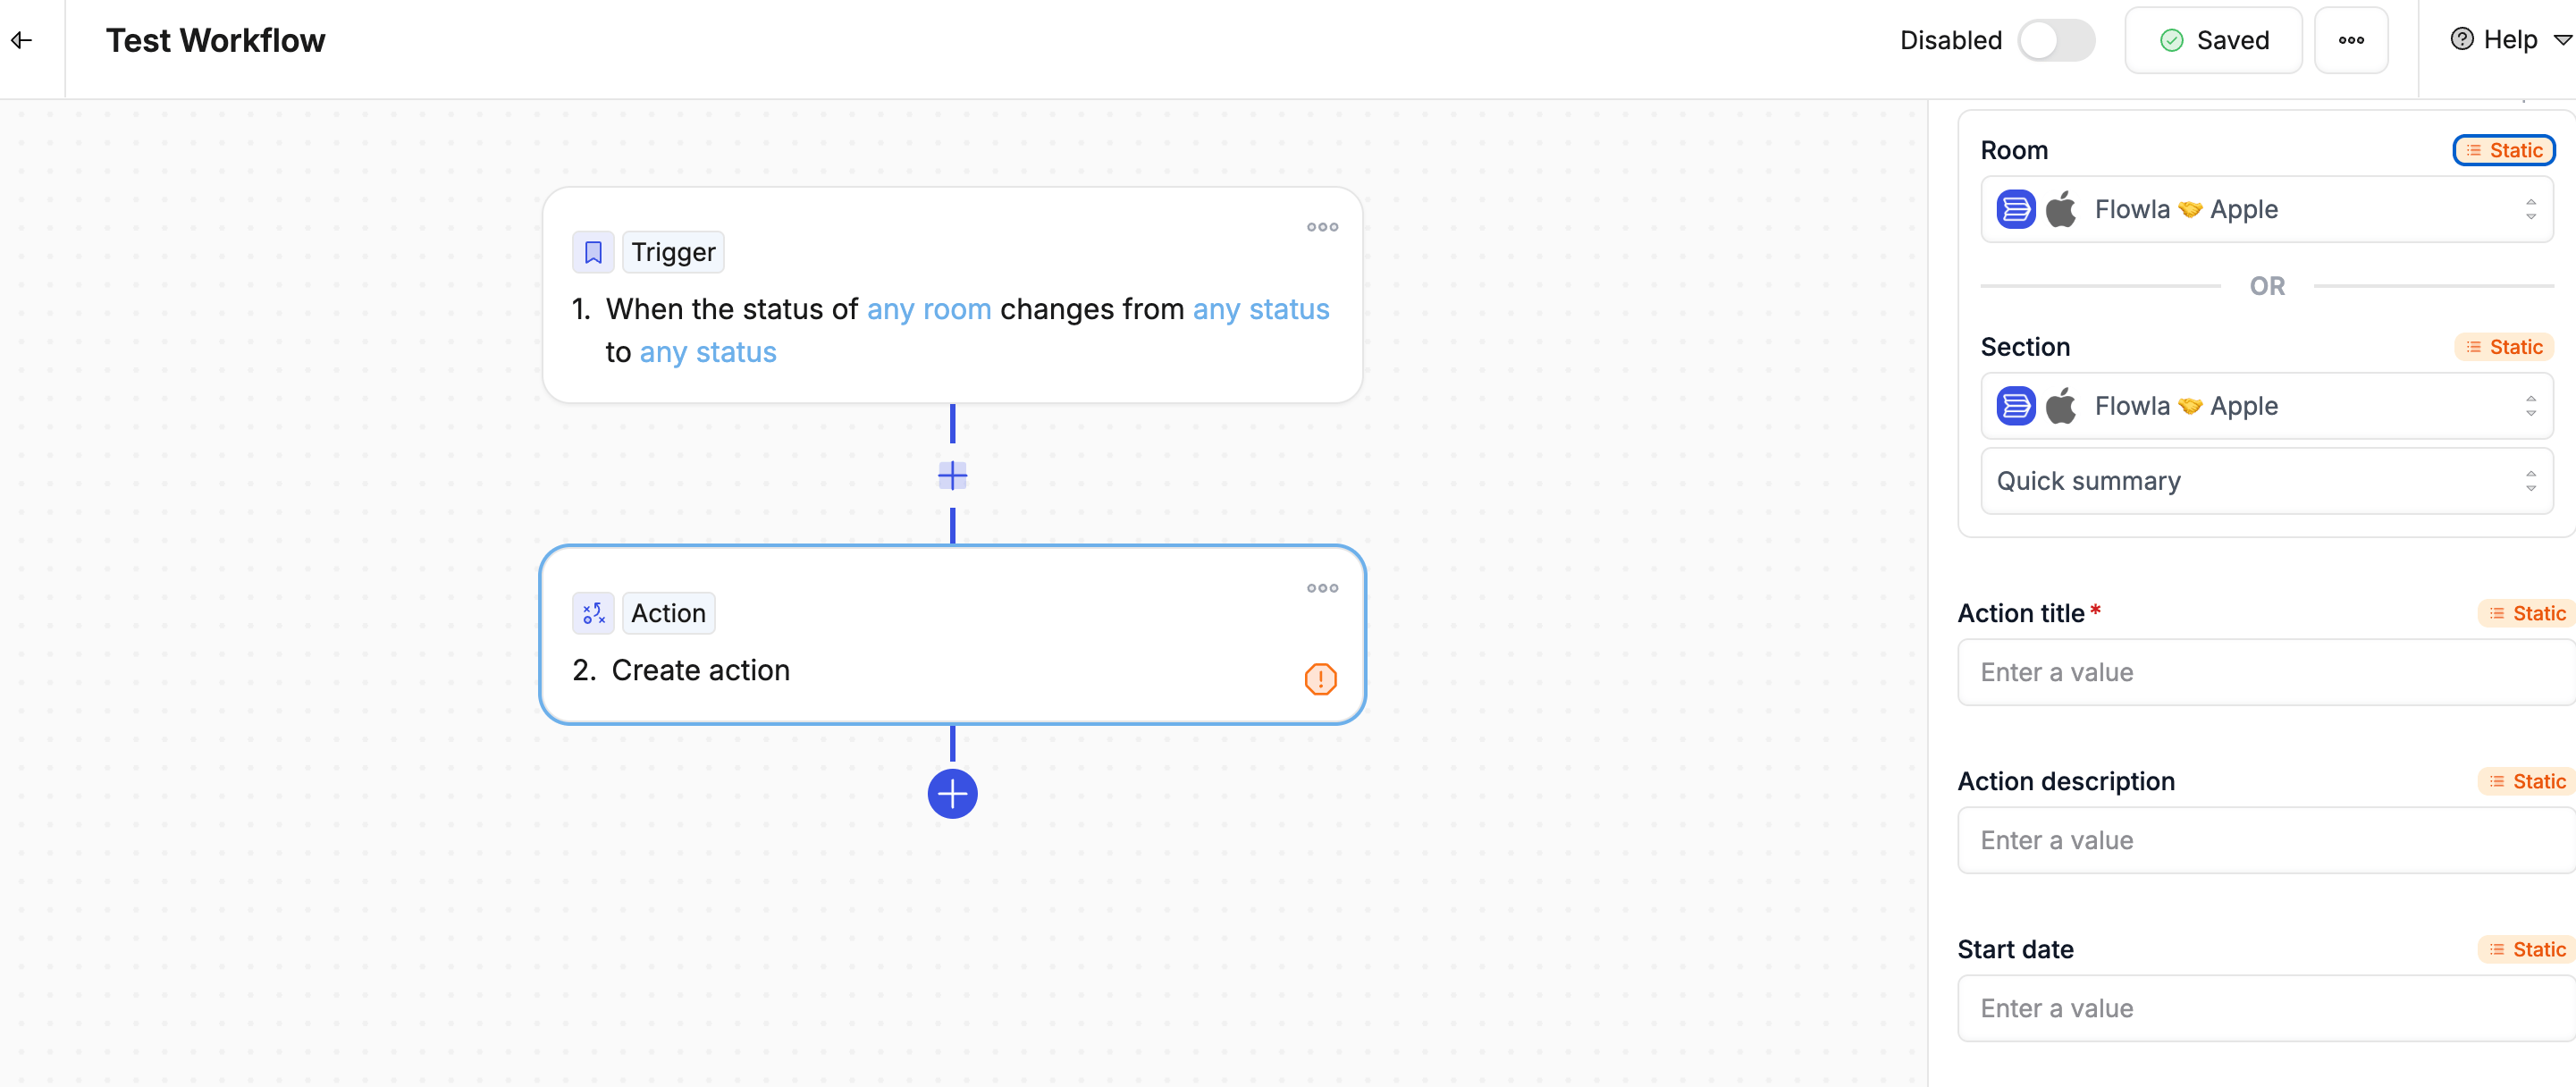
How to turn it on
Inside the Workflow Builder:- Add an action like Send Email, Post to Slack, or Add to Room
- If the action includes AI-generated content, toggle on “Add to queue for review”
Accessing your queue
- Click Smart Queue from your Workflow menu
- Open any draft, make edits if needed, then click Send or Dismiss
- Workflow name — which workflow created it
- Trigger context — what set it off
- Content preview — the draft ready for your review
- Created time — when it was added
- Approve — send it or execute the action as-is
- Edit — tweak the content first, then approve
- Reject — discard it without sending
Best practices
- Start with it on — Enable Smart Queue while you’re testing a new workflow to review output before it goes live
- Turn it off once you’re confident — Once a workflow is producing reliable results, disable the queue so it runs fully automatically
- Always keep it on for AI content — AI-generated customer-facing messages are worth a quick review
- Build it into your routine — Check your queue morning and evening so drafts don’t sit too long